Jewellery / 3 min read
Jewellery photography tips for accurate colour and detail
Control reflections, preserve the finish and help customers see what they are buying.
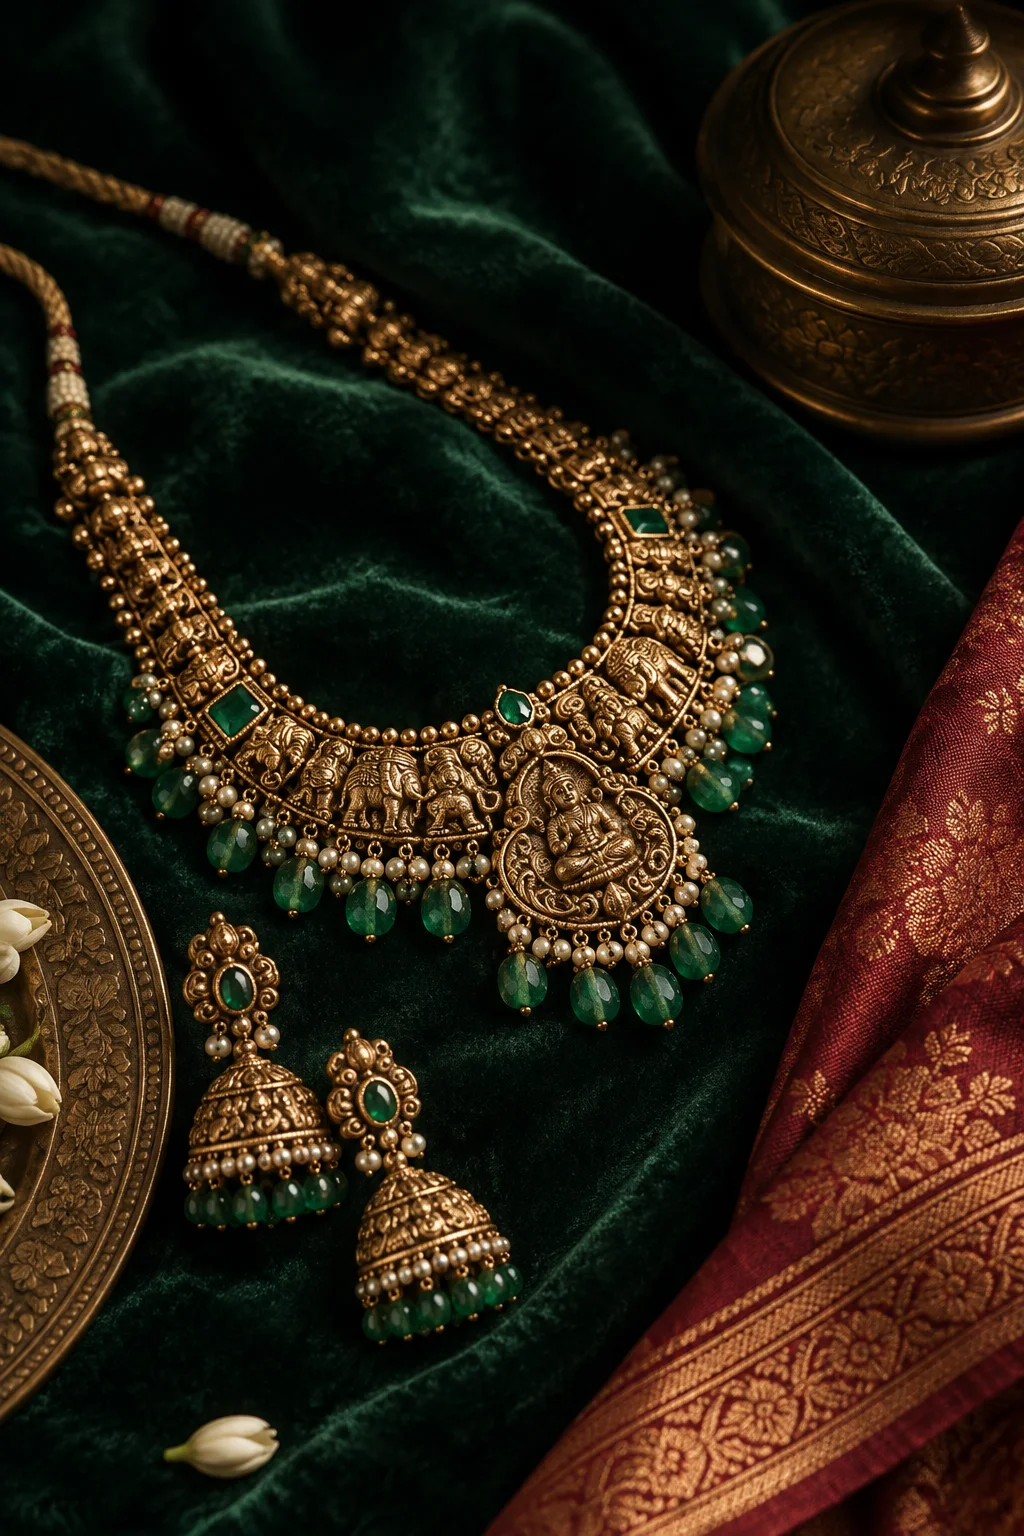
Use a soft, controlled light source
Jewellery reflects its surroundings. A small bright light can create distracting hotspots, while a broad diffused source can give a more readable surface. Start with one light or a shaded window and place a neutral card nearby to soften contrast. Change the angle of the piece before increasing brightness. Keep diffusion materials safely away from hot lights. The goal is to show finish and shape, not erase every reflection; some reflection is what makes polished metal understandable.
Clean the scene before the shoot
Check the piece for fingerprints, dust and fibres using handling methods suitable for its materials. Clean the background and display support too. A lint-free cloth may be useful for some surfaces, but sensitive settings or stones need store-approved handling. Photograph carefully rather than relying on retouching to repair everything. Avoid aggressive polishing that can damage finishes. Small practical preparation makes close-ups more credible and reduces unnecessary editing.
Keep colour consistent
Mixed lighting can make gold, stones and background colours difficult to reproduce. Turn off conflicting sources where possible and use a neutral reference to check white balance. Compare the edited image with the piece in reasonable viewing light. Phone screens vary, so no photograph guarantees identical colour on every device. Still, do not deliberately push warmth or saturation to make a piece look richer. If you show different angles, edit them as a set so the item does not appear to change colour.
Give the whole piece room
Shoot a full view before moving into details. Leave enough space around an earring, pendant or necklace so its shape is legible after cropping. Check that important parts are sharp; macro photography can have a very shallow area of focus. A smaller aperture or a more parallel camera angle may help, depending on the camera. For phones, avoid getting so close that the device switches to a lower-quality lens without you noticing.
Show scale without distraction
A permitted model, a hand or a consistent display can help explain size. Avoid relying on a decorative prop whose own dimensions are unclear. Pair the image with verified measurements when useful. If the item is shown on a model, use a natural pose that reveals how it sits. Do not stretch the image or alter the product’s proportions. An elegant image can still be practical: silhouette, scale and construction deserve as much attention as sparkle.
Retouch with a clear boundary
Remove background dust and minor temporary distractions, but preserve the product’s actual construction, stone pattern and finish. Do not add stones, change settings or smooth away features the customer will receive. Keep an unedited reference and the item identifier together so the team can approve the correct photograph. Export a clean high-quality image and check it on a phone before using it in a listing or social post.
Before you publish
A small final check.
- Full view and detail view captured
- White balance compared with the real item
- Product identifier attached to the images
- No retouching that changes what is sold
With Srajan
Bring more of your world into view.
Explore how Srajan approaches creative work for jewellery businesses.
Explore our jewellery workJewellery · 4 min read
How to photograph necklaces for different necklines
Photograph necklaces across different necklines with consistent scale, clear styling comparisons and accurate product details for your jewellery showroom.
Read the article: How to photograph necklaces for different necklinesJewellery · 3 min read
Instagram content ideas for jewellery stores: beyond the product shot
A considered collection of ways to show the detail, wearability and expertise a catalogue photograph leaves out.
Read the article: Instagram content ideas for jewellery stores: beyond the product shot